REPLACING THE STAMP CARTRIDGE
Overview
If a stamp unit (AR-SU1) is installed on the automatic document feeder and the stamp has become light, replace the stamp cartridge (AR-SV1).
Supplies
Stamp cartridge (2 in package) AR-SV1
Operation
When using the MX-4140N/MX-5140N
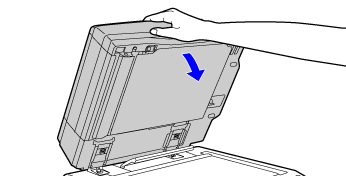
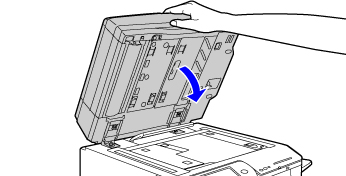
 Open the automatic document feeder.
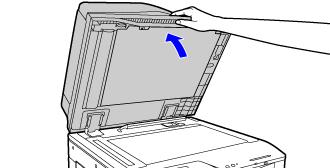
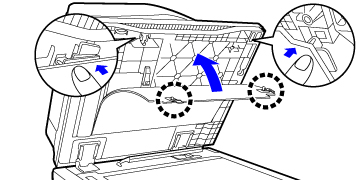
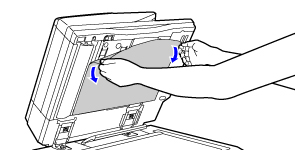
 Open the holders on the automatic document feeder that hold the original pressure sheet.
Open the holders (two) on the left and right sides.

 Grasp the tab on the stamp unit and pull the unit out.
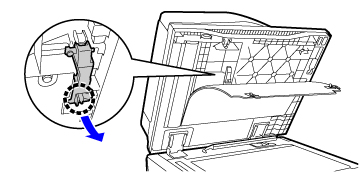
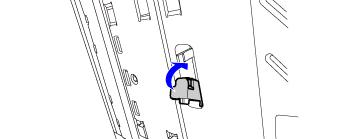
 Remove the stamp cartridge (A).
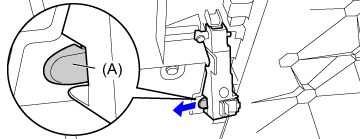
 Install a new stamp cartridge.
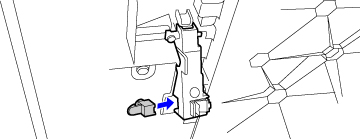
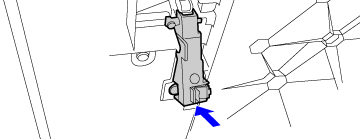
 Push the stamp unit back in.
Push the stamp unit in until it clicks into place.
 Replace the original pressure sheet.
Push the holders in until they click into place.
 Close the automatic document feeder.
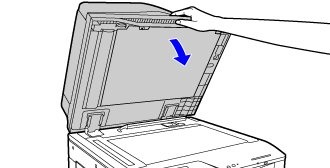
When using the MX-4141N/MX-5141N
Open the automatic document feeder.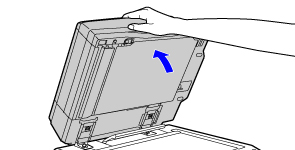 Remove the document backplate sheet from the automatic document feeder.
Remove the sheet slowly. Place the removed sheet with the side that was attached face up on the document glass.
 Grasp the tab on the stamp unit and pull the unit out.
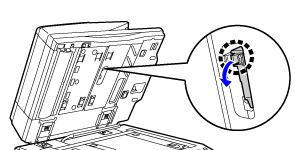 Remove the stamp cartridge (A).
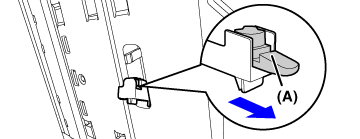 Install a new stamp cartridge.
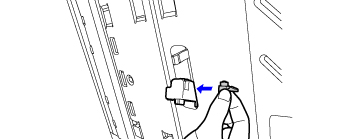 Push the stamp unit back in.
Push the stamp unit in until it clicks into place.
 Close the automatic document feeder to attach the document backplate sheet.
When the automatic document feeder is closed, the document backplate sheet on the document glass attaches to the automatic document feeder.
 Make sure that the document backplate sheet is firmly attached to the automatic document feeder and then close the automatic document feeder.
If the document backplate sheet is not firmly attached, remove the sheet and then close the automatic document feeder again to firmly attach the sheet.