CHECKING THE NUMBER OF SCANNED ORIGINAL SHEETS (ORIGINAL COUNT)
Overview
Counts the number of scanned original sheets and displays the count before transmission.
Checking the number of scanned original sheets before transmission helps prevent transmission mistakes.
 The count result is displayed with the number of scanned original sheets, not the number of scanned original pages. For example, when a 2-sided original is transmitted, the number "1" will appear to indicate that one original sheet is transmitted, not "2" to indicate the front-side page and the reverse side page.
Operation

Placing Originals into the Automatic Document Feeder

Enter the destination fax number

Tap the [Original Count] key
A checkmark appears on the icon.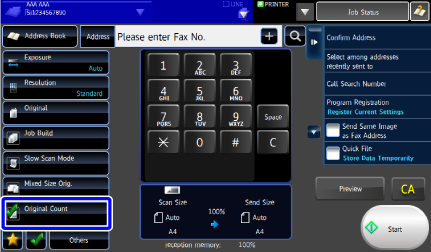

To cancel the original count setting:
Tap the [Original Count] key to clear the checkmark.
Tap the [Start] key to start scanning of the original
Tap the [Preview] key to preview the output image before sending a fax. After you have scanned an original by tapping the [Preview] key, tap the [Additional Scan] key to scan the next original. After checking the preview image, tap the [Start] key.
For more information, see "CHECKING THE OUTPUT IMAGE BEFORE TRANSMISSION". However, settings for this function cannot be changed in the preview screen.
When scanning is completed, check the number of original sheets
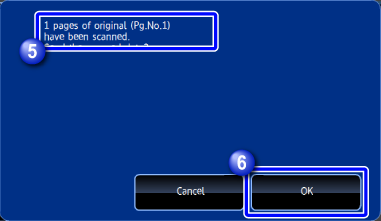

Tap the [OK] key to start transmission
If the displayed number of original sheets is different from the actual number of sheets:
Tap the [Cancel] key and then tap the [OK] key in the message screen to clear all scanned data. Scan settings and destination settings will not be cleared. Insert the original sheets in the document feeder tray again and tap the [Start] key to re-scan.