IMAGE SEND SEQUENCE
Change from the Home Screen or each mode to image send mode, and carry out the following procedure.
Operation

Place the original
Place the original in the automatic document feeder or on the document glass.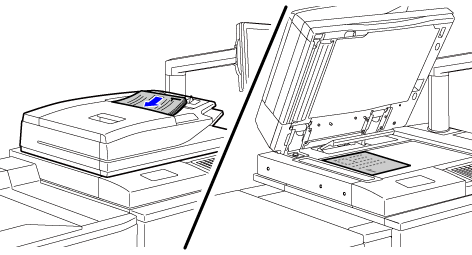

Specify the destination
Tap the appropriate text box to enter the destination directly, or search and retrieve the address book or number.

Configure the scan settings
Specify the original scan size, exposure, file format, and other items.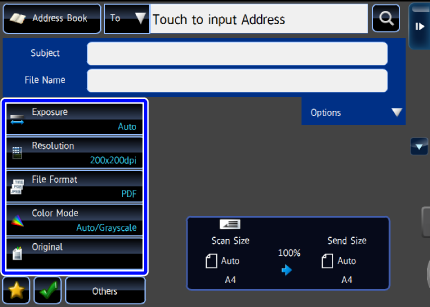
- SCANNING BOTH SIDES OF AN ORIGINAL AUTOMATICALLY
- SPECIFYING THE ORIGINAL SCAN SIZE IN PAPER SIZE
- SPECIFYING THE ORIGINAL SCAN SIZE USING NUMERIC VALUES
- SPECIFYING THE SEND SIZE OF THE IMAGE
- SPECIFYING SCAN EXPOSURE AND ORIGINAL IMAGE TYPE
- SPECIFYING SCAN RESOLUTION
- In Scan and Data Entry Modes
- CHANGING COLOR MODE SETTING
- SENDING A LARGE NUMBER OF PAGES

Set Others
Configure functions other than scan settings, such as sending two pages as a single page.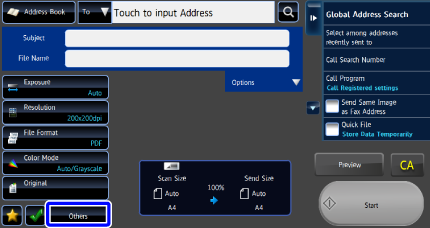

Send the original
Tap the [Start] key.
- You can check the preview image by tapping the [Preview] key before tapping the [Start] key. After you have scanned an original by tapping the [Preview] key, tap the [Additional Scan] key to scan the next original.
- If you placed the original on the document glass, repeat the step the same number of times as there are originals to be scanned. After scanning all originals, tap the [Read-End] key. (After you have scanned an original by tapping the [Preview] key, tap the [Additional Scan] key to scan the next original. Then, tap the [Start] key to send the original.)
- If you tap the [File] key or [Quick File] key on the action panel before sending an image, you can save the scanned original as data.