STAMPING SCANNED ORIGINALS (VERIFICATION STAMP)
Overview
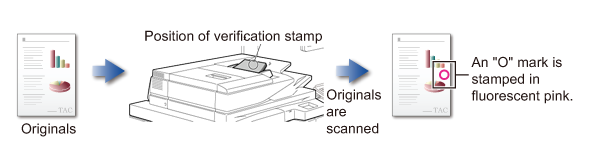
This function stamps each original that is scanned using the automatic document feeder, allowing you to verify that all originals were correctly scanned.

- Optional Verification Stamp unit must be installed to use the Verification Stamp function.
- When 2-sided originals are used, the front of each original is stamped twice.
- If an error occurs during scanning, an original that was not scanned may be stamped.
- When the "O" mark that is stamped on originals starts to become faint, replace the Verification Stamp cartridge.
For the procedure for replacing the Verification Stamp cartridge, see "VERIFICATION STAMP CARTRIDGE".
Operation

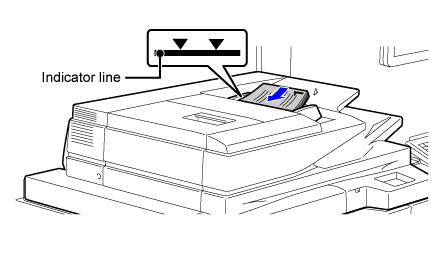
Placing Originals into the Automatic Document Feeder

Specify the destination

Tap the [Others] key, and tap the [Verif. Stamp] key
A checkmark appears on the icon.
After the settings are completed, tap the [Back] key.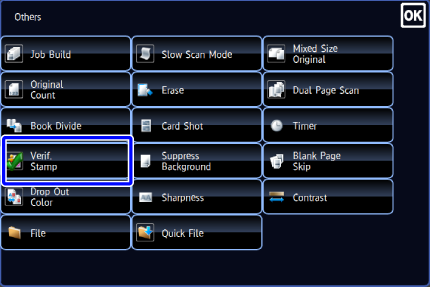

To cancel the verification stamp setting:
Tap the [Verif. Stamp] key to clear the checkmark.
Tap the [Start] key to start scanning of the original
A beep will sound to indicate that scanning and transmission have ended. Tap the [Preview] key to preview the output image before sending it. After you have scanned an original by tapping the [Preview] key, tap the [Additional Scan] key to scan the next original. Tap the [Start] key to start sending an image.
For more information, see "CHECKING THE OUTPUT IMAGE BEFORE TRANSMISSION". However, settings for this function cannot be changed in the preview screen.