Manual Stapling
Video Length - 01:08
Ginny shows you how to do manual stapling.

Video Transcription
|
Audio
|
Visual
|
|
[intro music begins]
|
|
|
Ginny Wilkins (SHARP Field Trainer):
Hi, I'm Ginny with Sharp. I'm going to be showing you how to do manual
stapling.
|
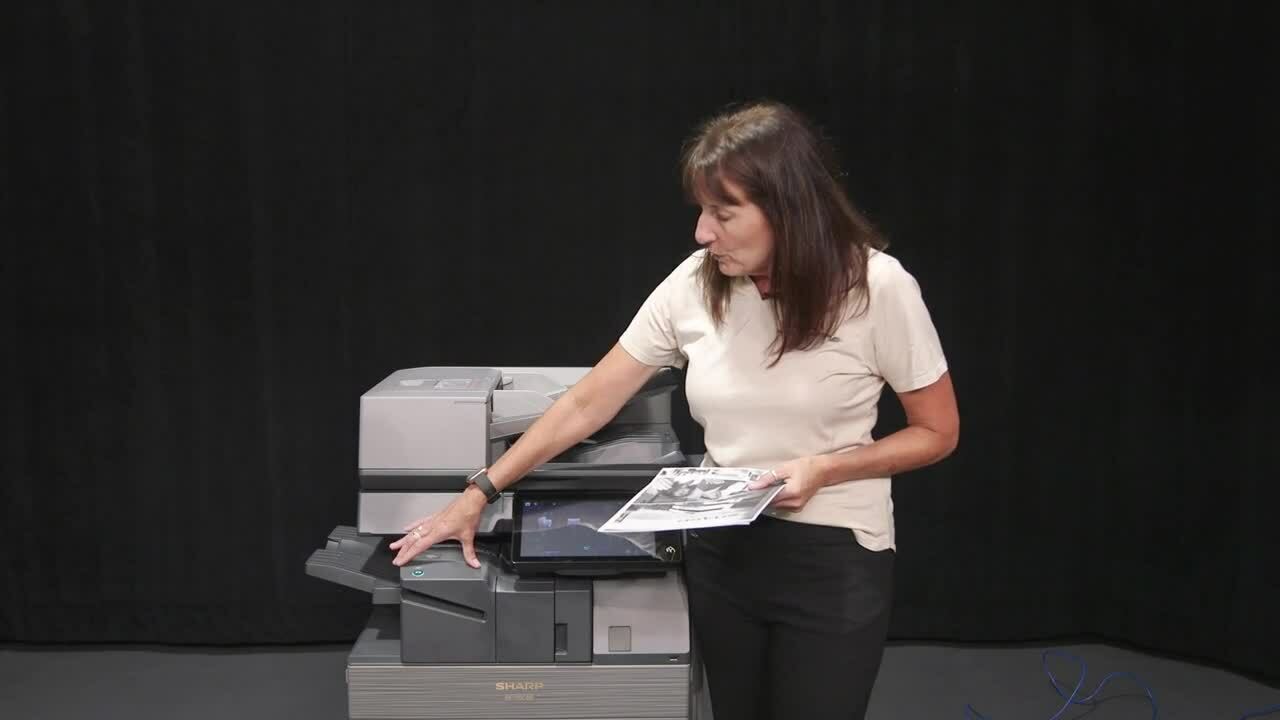
Ginny Wilkins stands in front of an MFP.
|
|
So many times after you get your whole set and all your staple sets,
you then look for a staple to re-staple your originals. Many times in
work rooms, we don't have a heavy duty stapler.
|
She picks up a stack of printed images and mimes stapling it.
|
|
Well, according to your, um, your finisher, if you see this little
green circle or this right here, you have the ability to do a manual
staple.
|
She places her hand on a dark grey part of the printer right above
where the printed pages come out. There is a small grey button with
green light and the letter C on it.
|
|
On our inner finisher, you can staple up to 40 pages. How do you know
how to put it? When that light starts to flash. The picture is trying
to tell you face down.
|
Next to the button, there are images indicating to put the paper face
down. She inserts the corner of her stack of papers into the slot
right below the button.
|
|
When that light starts to flash, that means you have it in correctly.
Give it a few seconds or touch the button and it will staple your
originals.
|
The green light of the button flashes and then there is clicking
sound. She pulls out the stack of papers to show a perfectly stapled
packet.
|